


Since I've shared my Painting With a Twist trips with you guys (also here, here, and here), I thought I would share this one as well since I seriously enjoyed this WAY more than Painting With a Twist. Don't get me wrong, I do love Painting With a Twist, but I seriously suck at drawing straight lines and flat out "painting". When I heard that "stencils" of a sort are used with this class, I was all over it!

We signed up for an "open" class, so everyone in the room was designing something different. Both of our ideas came from the Junkin Gypsies facebook, but our instructor said that people send in pinterest ideas all the time as well.

For starters, Kayla was given boards, nails, and a hammer! You seriously do EVERYTHING for this class besides cut out the wood yourself. Mine was just a door hanger, so there weren't many pieces or parts to being with.

We began by staining the wood. Stains were available in several shades of brown as well as blue and grey. I chose a dark brown and wiped it on super thin.

A lot of time in this class was waiting for paint to dry. In the mean time, we ordered Buffalo Wild Wings on Waitr! I also made sure to stain the sides and back of this design as I'm a little OCD in that manner...

We also chose our actual paint colors while waiting for the stain to dry. I chose grey, mint, and turquoise.

The above photo is with just the grey paint and the below photo is with mint paint. As I applied colors, I went behind them and wiped them off with a paper towel. I wanted the colors to be thin so everything would dry faster and I also wanted my design to have a marshy, swampy, Louisiana look to it!

Kayla stained, painted, and sanded her board to give it a rustic look.
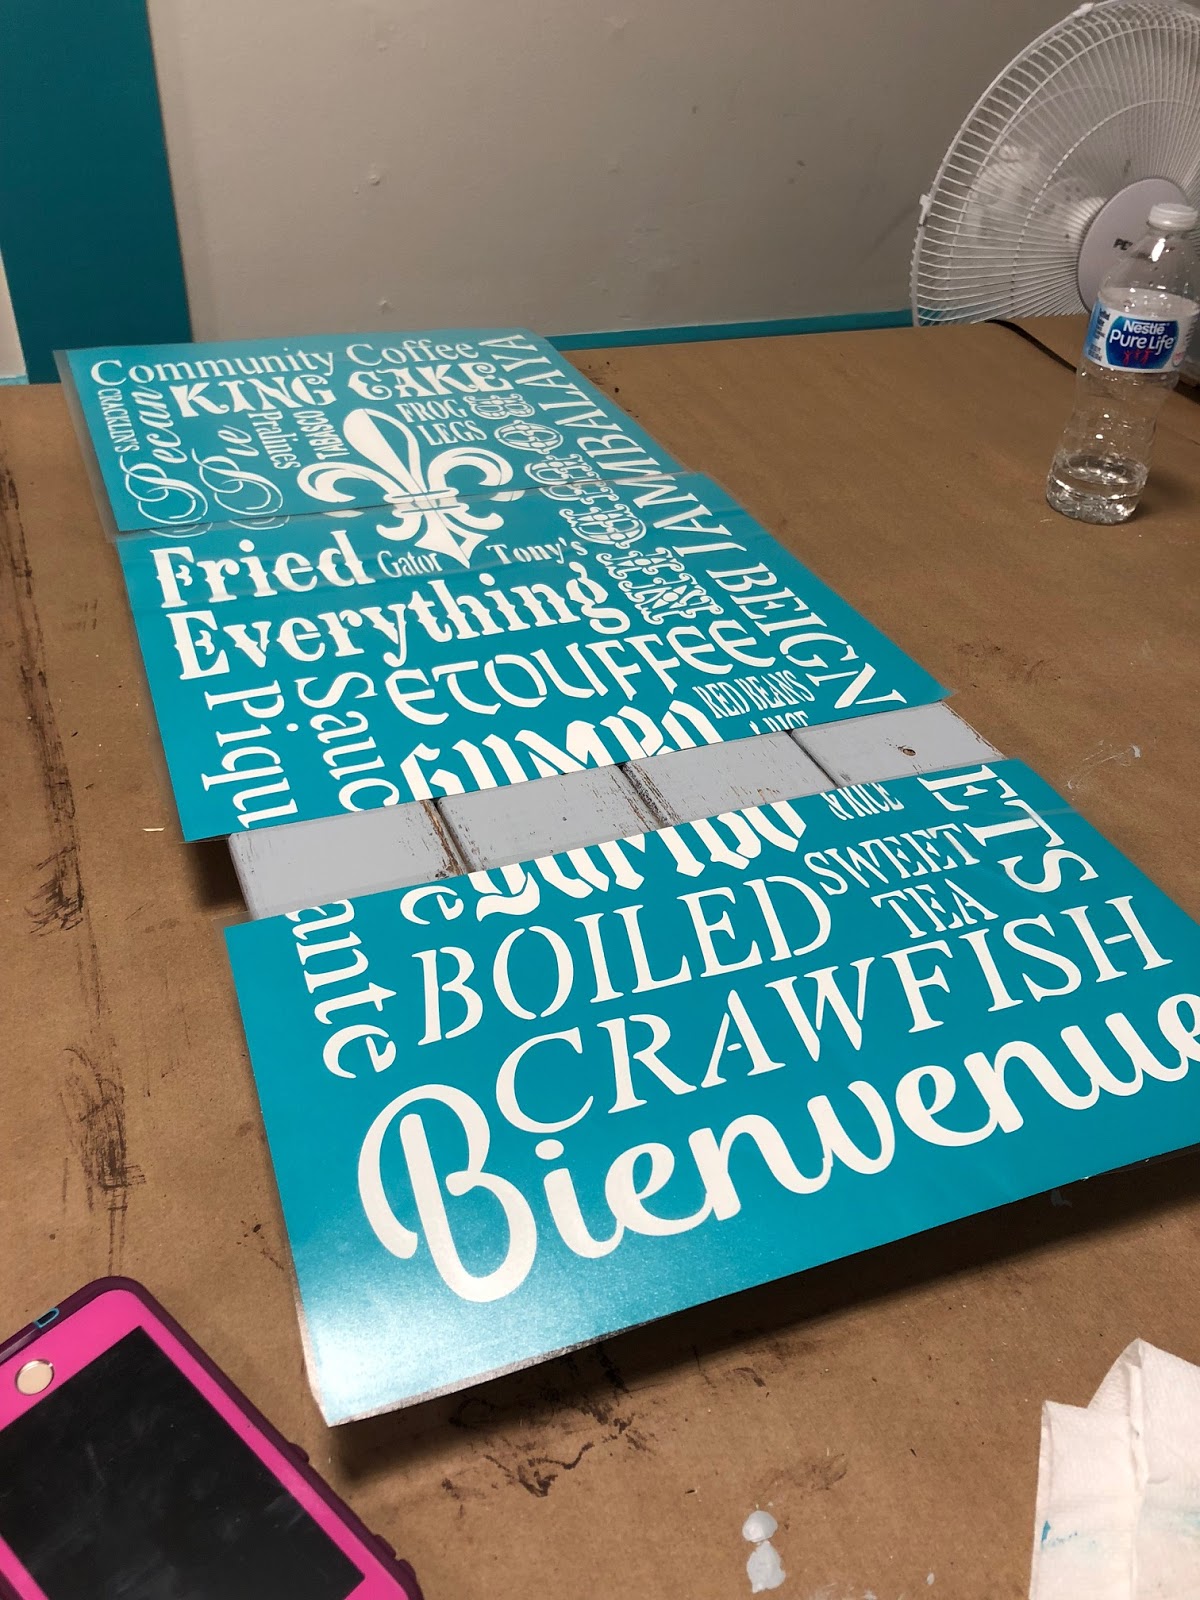
We were also given our "stencils" while we waited for our paint to dry. Kayla's was more elaborate (above) while mine was more on the simple side (below).
These stencils were basically cut out from a silhouette machine onto sticky vinyl.

We arranged our stencils on our boards as we liked, then filled them in with our paint color of choice.

For my door hanger, I chose a fleur-de-lis as well as the word "Bienvenue" which means "Welcome" in french.
Oh yes, and Buffalo Wild Wings arrived just in time! We were starving!!

Instead of painting in the stencils with an actual paint brush, we stamped them in with a sponge brush.
I also chose black for my design so it could be seen from the road.

Filled in, now ready to peel! I thought we would wait for the black paint to dry before peeling up the stencil but she told us no!

Unfortunately, my under coat paint wasn't dry enough and the vinyl pulled a little bit of paint up from around the stencil site.

With a flat head paint brush, my instructor showed me how to "fix" the error. Thankfully, it worked!

I love love love it!

When I say you get to do everything with this class, I mean it! I even had the chance to use a power tool to cut holes in my board to turn it into a door hanger! We also had a ton of ribbon to choose from to make a bow!

All done!

Kayla and I with our designs! I love them!

The finished product hanging on display!
I absolutely love my new door hanger and the concept behind this class. I left the class with the idea of returning as soon as possible and already decided on my next creation! If you have something similar to this in your area, I highly recommend it. The price is affordable for what you get and it's very simple and easy for anyone to do! I'll definitely be back!
That is such a fun thing to do - and I'm with you - much as I enjoyed Painting with a Twist, I'm not very good at that kind of painting. This looks more up my alley. You both made super cute projects!
ReplyDeleteThank you so much! It was so much fun, I can't wait to return!
Delete